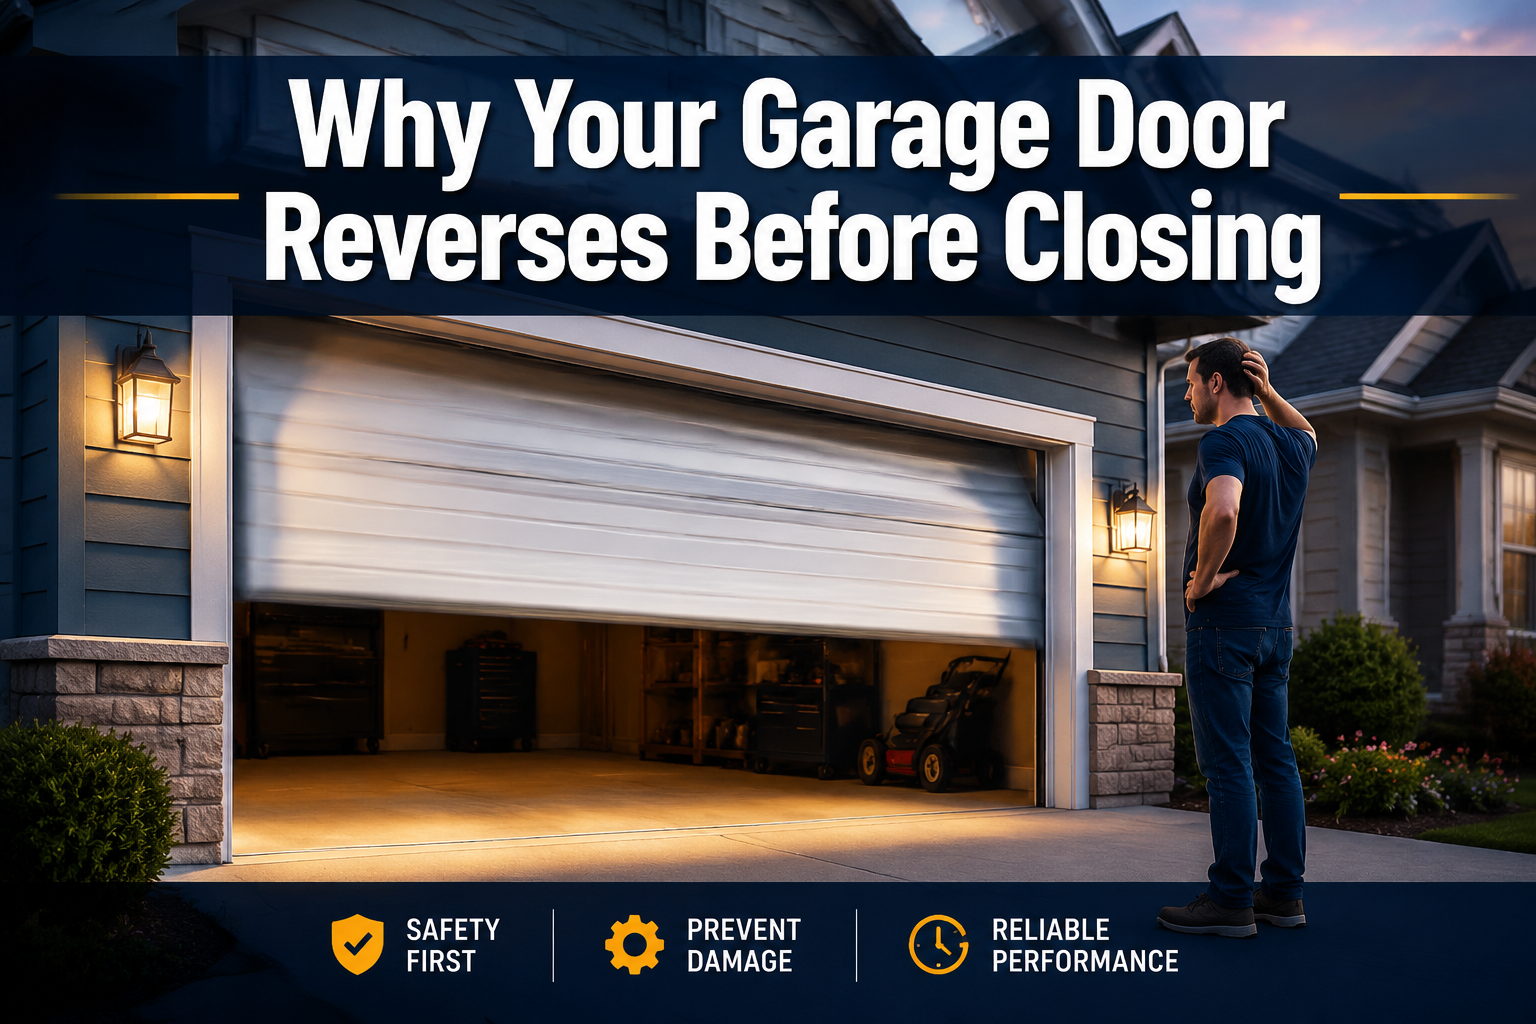
A garage door that reverses before fully closing is almost always responding to its own safety system. The most common causes are misaligned or dirty photo-eye sensors, incorrect close-limit or force settings on the opener, and physical resistance in the tracks or hardware. Most of these problems can be fixed in under 30 minutes without replacing any parts.
Key Takeaways
- Misaligned photo-eye sensors are the single most common reason a garage door reverses before closing, dirty lenses or a knocked sensor bracket can break the beam and trigger an immediate reversal.
- Incorrect close-limit settings make the opener think it has hit an obstruction before the door reaches the floor, causing it to reverse short of the closed position.
- Force settings that are too sensitive will cause the door to reverse when it encounters even minor friction from worn rollers, debris, or cold-weather stiffness.
- Track obstructions and worn hardware create enough drag to trip the opener’s force sensor, even when the path looks clear.
- Most DIY fixes take 5–30 minutes and require only a flathead or Phillips screwdriver.
- Never bypass or tape over safety sensors — they exist to prevent entrapment injuries and are required under UL 325 safety standards for all residential openers.
- After any spring, cable, or roller replacement, always recalibrate the opener’s travel and force limits — this is a leading cause of nuisance reversals that homeowners overlook.
- If the door reverses immediately upon touching the floor, the close-limit is likely set too short; if it reverses mid-travel, suspect sensors or force settings.
- Torsion spring problems require a licensed technician, do not attempt spring repairs as a DIY fix.
What Does It Mean When a Garage Door Reverses Before Closing?
A garage door that reverses before closing is doing exactly what it was designed to do: stopping and retreating when it detects a potential hazard. Modern openers manufactured under UL 325 compliance standards are built to reverse automatically any time they sense unexpected resistance or a break in the safety sensor beam. This is a safety feature, not a malfunction, but when it triggers without a real obstruction present, it points to a calibration or hardware issue that needs attention.
The reversal behavior typically falls into two patterns:
- Reverses immediately upon touching the floor, usually a close-limit setting that is too short, causing the opener to interpret the floor contact as hitting an obstruction.
- Reverses mid-travel before reaching the floor, usually a sensor issue, a force setting that is too sensitive, or physical resistance in the track.
Understanding which pattern applies narrows the diagnosis significantly before touching a single screw.
Why Your Garage Door Reverses Before Closing: The 5 Most Common Causes
Understanding why your garage door reverses before closing and how to fix it starts with identifying which of five core problems is triggering the safety system. Each cause has a distinct symptom pattern.
1. Misaligned or Dirty Photo-Eye Sensors
Photo-eye sensors sit about 4–6 inches off the ground on either side of the door frame. They send an invisible infrared beam across the opening. If anything breaks that beam, a misaligned bracket, a dirty lens, a cobweb, or even direct sunlight hitting the sensor, the opener interprets it as an obstruction and reverses.
How to tell: One or both sensor LEDs will be blinking or off instead of showing a solid light. A solid green (receiver) and solid amber (sender) typically indicate a healthy beam.
Common mistake: Homeowners often check for physical objects in the doorway and find nothing, then assume the opener is faulty. The sensors are the first thing to check, not the last.
2. Incorrect Close-Limit Settings
The close-limit switch tells the opener how far the door needs to travel to reach the fully closed position. If this setting is too short, the opener stops the door before it reaches the floor and then reverses, because the motor senses continued movement (the door’s own momentum) and interprets it as hitting something.
According to guidance published by Best Pro Services, a close-limit set too short is one of the most frequently overlooked causes of this problem, and correcting it is often a 5–10 minute adjustment on the opener head.
How to tell: The door stops and reverses consistently at the same point, usually an inch or two above the floor.
3. Force Settings That Are Too Sensitive
Every opener has a force (or sensitivity) setting that controls how much resistance it will tolerate before reversing. If the down-force is set too low, the opener will reverse at the slightest friction — worn rollers, a slightly warped track, cold-weather lubricant thickening, or even a slight incline in the floor.
A January 2026 analysis from Garage Door In My Area noted that mis-calibrated force settings after installation or spring replacement are now among the leading causes of nuisance reversals, precisely because the opener is designed to err on the side of caution.
How to tell: The door reverses inconsistently, sometimes closing fine, sometimes reversing, especially in cold weather or after hardware work.
4. Track Obstructions and Worn Hardware
Debris, dents, warped track sections, and worn rollers all add friction to the door’s travel. Even a small increase in resistance can be enough for a well-tuned safety system to interpret the situation as a hazard and reverse. Precision Door technicians report that warped tracks, dents, debris buildup, and worn rollers are frequent culprits that homeowners miss because the door appears to move smoothly to the naked eye.
How to tell: Visually inspect the tracks for debris, rust, or dents. Listen for grinding or scraping sounds during travel. Check rollers for flat spots or cracking.
5. Opener Logic Board or Wiring Faults
Less common but worth noting: a faulty logic board or damaged wiring can send false signals that trigger reversals. This is typically a last-resort diagnosis after all other causes have been ruled out.
How to tell: Reversals happen randomly with no consistent pattern, even after sensors are cleaned, limits are adjusted, and tracks are clear.
How to Diagnose Why Your Garage Door Reverses Before Closing and How to Fix It
Work through this checklist in order. Start simple before moving to mechanical adjustments.
Step-by-Step Diagnostic Checklist
| Step | What to Check | What to Look For |
|---|---|---|
| 1 | Photo-eye sensor LEDs | Both lights solid? Green = receiver, Amber = sender |
| 2 | Sensor lenses | Dust, dirt, cobwebs, moisture |
| 3 | Sensor alignment | Brackets pointing directly at each other |
| 4 | Track and rollers | Debris, dents, worn rollers, rust |
| 5 | Close-limit setting | Door stops consistently above the floor |
| 6 | Down-force setting | Door reverses inconsistently or under light resistance |
| 7 | Wiring and connections | Frayed wires, loose terminals at opener head |
| 8 | Logic board | Random reversals after all above are ruled out |
How to Fix Misaligned or Dirty Sensors (Most Common Fix)
Cleaning and realigning the sensors resolves the majority of garage door reversal problems. This fix takes about 10 minutes and requires no tools beyond a soft cloth.
Step 1: Clean the lenses. Wipe both sensor lenses with a dry microfiber cloth. Remove any cobwebs, dust, or moisture. Even a thin film of dirt can scatter the infrared beam enough to cause intermittent reversals.
Step 2: Check the LED status. After cleaning, press the wall button to attempt a close cycle. If the LEDs are still blinking, the beam is still broken.
Step 3: Realign the sensors. Loosen the wing nut or mounting screw on the sensor bracket (usually hand-tight). Slowly pivot the sensor until the LED goes solid. Retighten the bracket. Repeat on the other side if needed.
Step 4: Check for sunlight interference. Direct sunlight hitting the receiver sensor can overwhelm the infrared signal. If the problem only occurs at certain times of day, shade the sensor with a small cardboard hood or reposition the bracket slightly downward.
Step 5: Test the door. Run a full close cycle. The door should travel smoothly to the floor without reversing.
Pro tip: If both LEDs are solid but the door still reverses, the sensor wiring may be damaged or the sensor itself may be faulty. Inspect the wiring from each sensor back to the opener head for fraying or pinched sections.
For issues beyond sensor alignment, a garage door opener repair specialist can diagnose and resolve wiring or logic board faults quickly.
How to Adjust Close-Limit and Force Settings
Adjusting the close-limit and force settings is the correct fix when sensors are healthy but the door still reverses before reaching the floor.
Important: The exact process varies by opener brand and model. Always consult the owner’s manual before adjusting. The following applies to most belt-drive and chain-drive residential openers (Chamberlain, LiftMaster, Craftsman, and similar).
Adjusting the Close-Limit Setting
- Locate the limit adjustment screws on the opener head. They are typically labeled “UP” and “DOWN” (or “OPEN” and “CLOSE”), and are small slotted screws accessible without removing a cover.
- To make the door travel further down before stopping, turn the DOWN (or CLOSE) limit screw clockwise in small increments, a quarter-turn at a time is the standard recommendation for Chamberlain units.
- Test the door after each adjustment. The goal is for the door to close flush with the floor without the bottom seal compressing excessively.
- If the door now closes but the motor strains or the door reverses again from the floor, the down-force may also need adjustment.
Adjusting the Down-Force Setting
- Locate the force adjustment screw, labeled “DOWN FORCE” or similar. On many openers, this is a separate screw adjacent to the limit screws.
- Turn the down-force screw clockwise in quarter-turn increments to increase the force the opener will apply before reversing.
- Do not set force too high. The standard safety test: place a 2×4 flat on the floor in the door’s path. The door should reverse when it contacts the board. If it does not reverse, the force is set too high and must be reduced immediately.
- Test after each adjustment until the door closes consistently without false reversals, while still passing the 2×4 safety test.
When Track Problems Are Causing the Reversal
Physical resistance in the track system is a less obvious but common cause of garage door reversals, especially on older doors or after recent hardware work.
Check the tracks first. Run a visual inspection along both vertical and horizontal track sections. Look for:
- Dents or bends that could catch a roller
- Debris buildup (leaves, dirt, ice in winter)
- Rust or corrosion that increases friction
- Rollers that are cracked, flat-spotted, or wobbling
Lubricate the hardware. Apply a silicone-based or lithium-based garage door lubricant (not WD-40, which attracts dirt) to the rollers, hinges, and track curves. Avoid lubricating the flat track sections, this can cause the door to slip.
Check roller condition. Nylon rollers typically last 10–15 years. Steel rollers may last longer but rust. Worn rollers create enough drag to trip a properly calibrated force sensor. Replacing rollers is a straightforward DIY task on most doors, though the bottom brackets near the cables should be handled carefully.
If tracks are visibly bent or the door is binding significantly, professional assessment is the safer path. A technician providing garage door repair in Burlington or nearby areas can straighten or replace track sections and recalibrate the opener in a single visit.
After any spring or cable replacement, always recalibrate the opener’s travel and force limits. Prime Access Garage Doors noted an increase in service calls specifically from homeowners who replaced springs but did not retune the opener settings afterward, the new spring tension changes the door’s travel resistance enough to trigger false reversals.
If you suspect spring-related issues are contributing to the problem, see garage door spring repair options before adjusting the opener settings, since a broken or improperly tensioned spring will cause ongoing calibration problems.
DIY Fix vs. Calling a Professional: How to Decide
Most garage door reversal problems can be resolved without professional help. But some situations call for a technician.
Fix It Yourself If:
- The sensor LEDs are blinking and cleaning or realigning fixes them
- The door stops consistently just above the floor (limit adjustment needed)
- The door reverses inconsistently and lubricating the hardware resolves it
- The limit or force screws are accessible and the adjustment is minor
Call a Professional If:
- The door reverses randomly even after sensors, limits, and tracks are addressed
- The logic board appears faulty (random behavior, error codes on the display)
- The tracks are visibly bent or damaged
- The springs are broken or improperly tensioned, torsion spring repair is not a DIY task due to the extreme tension involved
- The door is heavy, old, or the hardware is significantly worn
For urgent situations where the door won’t close at all, same-day emergency garage door repair is available in most service areas.
Homeowners who are unsure whether their situation is DIY-appropriate can review 5 signs you need garage door repair now to help make the call.
Why Newer Openers Reverse More Easily (By Design)
Modern garage door openers are intentionally tuned to reverse under less resistance than older models. This is not a defect, it reflects tighter safety standards.
UL 325, the primary safety standard governing residential garage door operators in North America, requires that all new openers include both photo-eye sensors and auto-reverse mechanisms. Manufacturers now tune their systems to reverse at the first sign of doubt rather than power through minor resistance. The result is that a door that would have closed without issue on a 1995 opener may reverse on a 2020 opener under identical conditions.
This design philosophy means that nuisance reversals are, in a sense, the system working correctly — the threshold for what counts as “resistance” has been deliberately lowered to reduce injury risk. The practical implication for homeowners: even small increases in track friction, minor sensor misalignment, or slight limit miscalibration will trigger reversals on newer openers that older systems would have ignored.
This is worth keeping in mind when troubleshooting. The fix is usually calibration or maintenance, not a hardware replacement.
How to Prevent Garage Door Reversals From Happening Again
Preventing the problem from recurring is straightforward with a basic maintenance routine.
Twice a year:
- Clean sensor lenses with a dry cloth
- Lubricate rollers, hinges, and track curves with silicone or lithium spray
- Visually inspect tracks for debris, dents, and rust
- Test the auto-reverse by placing a 2×4 on the floor in the door’s path
After any hardware work (springs, cables, rollers, opener replacement):
- Recalibrate close-limit and force settings before regular use
- Run 5–10 full open/close cycles and observe for hesitation or reversal
- Confirm sensor LEDs are solid after reassembly
Seasonally (especially before winter):
- Check that the bottom seal is not frozen to the floor, this creates sudden resistance that triggers reversals
- Inspect rollers for cold-weather stiffness
- Confirm the track is clear of ice or debris
Homeowners interested in a full system check can explore garage door repair and maintenance services to have a technician run a complete inspection.
Frequently Asked Questions
Q: Why does my garage door reverse immediately when it touches the floor? The close-limit setting is almost certainly too short. The opener interprets the door touching the floor as hitting an obstruction because it hasn’t reached its programmed endpoint yet. Adjust the down-travel limit screw on the opener head in small clockwise increments until the door closes flush with the floor.
Q: Why does my garage door reverse halfway down for no apparent reason? Check the photo-eye sensors first, a blinking LED on either sensor means the infrared beam is broken. Clean both lenses and confirm the brackets are pointing directly at each other. If sensors are fine, check for debris or a dent in the track at the point where the door reverses.
Q: Can I just tape over or bypass the sensors to stop the reversals? No. Bypassing sensors is dangerous and violates UL 325 safety requirements. The sensors exist to prevent the door from closing on a person, pet, or object. Taping them or blocking the beam defeats the entire safety system. Fix the underlying cause instead.
Q: Why does my garage door only reverse in cold weather? Cold temperatures thicken lubricants and can cause metal components to contract slightly, increasing friction. The opener’s force sensor detects this extra resistance and reverses. Lubricate all moving parts with a cold-weather-rated silicone spray and check whether the bottom seal is freezing to the floor.
Q: Why does my garage door reverse at a specific time of day? Sunlight hitting the receiver sensor at a low angle (common in early morning or late afternoon) can overwhelm the infrared beam and trigger a false reversal. Shade the sensor with a small cardboard or plastic hood, or slightly angle the bracket downward to block direct sunlight.
Q: How do I know if the problem is the opener’s logic board? Logic board faults typically cause random, unpredictable reversals that don’t follow a consistent pattern. If cleaning sensors, adjusting limits, lubricating hardware, and checking tracks all fail to resolve the problem, the logic board is the likely culprit. This usually requires professional diagnosis or opener replacement.
Q: My garage door reverses after I replaced the springs. Why? New springs change the door’s weight balance and travel resistance. The opener’s force and limit settings that worked before the spring replacement may now be miscalibrated. Recalibrate both the close-limit and down-force settings after any spring work. See garage door spring repair guidance for more context.
Q: How often should I clean and align my garage door sensors? Cleaning the sensor lenses twice a year is sufficient for most environments. In dusty garages or areas with heavy seasonal pollen, quarterly cleaning is reasonable. Check alignment any time the door starts reversing unexpectedly, or after any physical contact with the sensor brackets.
Q: Is a garage door that keeps reversing a safety hazard? The reversal itself is a safety feature working correctly. The hazard is leaving the problem unresolved, a door that won’t close reliably leaves the garage unsecured. Diagnose and fix the cause promptly, but do not attempt to override the safety system to force the door closed.
Q: When should I replace the opener instead of adjusting it? If the opener is more than 15 years old, lacks photo-eye sensors, or has a faulty logic board that can’t be repaired economically, replacement is the better option. Newer openers also offer battery backup, smartphone connectivity, and tighter safety compliance. A garage door opener repair or replacement assessment can help determine which path makes sense.
Conclusion: Actionable Next Steps
Understanding why your garage door reverses before closing and how to fix it comes down to one core principle: the door is responding to its own safety logic. The reversal is not random — it has a specific trigger, and that trigger points directly to the fix.
Here’s what to do right now:
- Look at the sensor LEDs. If either light is blinking or off, clean both lenses and realign the brackets. This resolves the majority of reversal problems.
- Observe where the door stops. If it consistently stops just above the floor, adjust the close-limit screw clockwise in quarter-turn increments.
- Lubricate the hardware. If the door reverses inconsistently, apply silicone spray to rollers, hinges, and track curves before touching any settings.
- Run the 2×4 safety test after any force adjustment to confirm the auto-reverse is still functioning correctly.
- Call a professional if the problem persists after these steps, if springs are involved, or if the opener is showing error codes or behaving erratically.
A garage door that closes reliably is not just a convenience — it’s a security and safety baseline for the home. Most of the causes covered here are inexpensive to fix and take less time than a trip to the hardware store.
For homeowners in the Oakville, Burlington, Hamilton, or Mississauga areas who need professional support, same-day garage door repair is available for situations that go beyond DIY adjustment.